
Approve or Deny a Transferology Lab Account Request
This article provides instructions for approving and denying Transferology® Lab user account requests. Individuals must be employees of a college or university subscribing to Transferology® to have a Lab account. See Related Articles for further information about how to request an account.
In this article:
Individuals with the School Administrator role in the Transferology Lab create Lab user accounts (and approve requests for such) for institution members. Once a user requests a Transferology Lab account, School Admins can review the request by:
- Selecting a link in the account request notification email.
- Navigating to the Users tab of the School Profile.
Approve from the Request Email
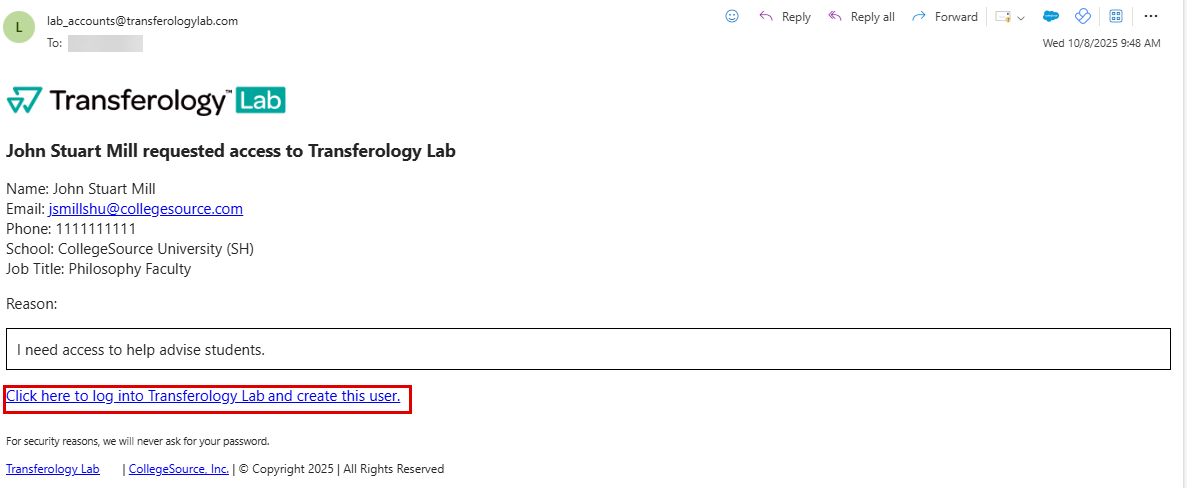
Once an account is requested through the application, Transferology will send the email identified as the Lab Account Request Email within the Contact Emails tab of the School Profile the information the account requester supplied.
To approve the request:
- Select the Click here to log into Transferology Lab and create this user. hyperlink in the email..
- Log in to the Transferology Lab.
The New User's Profile screen will appear, where the requester's data will auto-populate.
- Follow the instructions within Create Transferology Lab User Accounts & Assign Roles (Create a User, Step 3) to create the user account.
Approve from the Users Tab of the School Profile
Lab account requests can also be approved (or denied) directly from the Users tab of the School Profile.
To review the request:
- Go to the School Profile menu.
- Select School Management.
- Select the Users tab.
Pending requests will appear towards the top of the page, above the list of user accounts.
- Select the Approve checkmark to begin creating the account.

- Select the checkmark to the left of the role (or roles) to assign to the user.
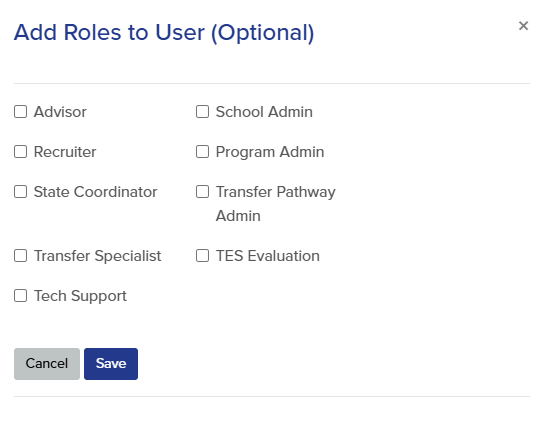
- Select from Advisor, Recruiter, State Coordinator, Transfer Specialist, Tech Support, School Admin, Program Admin, Transfer Pathway Admin, and TES Evaluation.
For an explanation of each role's capabilities, see User Role Permissions for Lab Functionality (Related Articles).
- Select Save.
The user's account will be created using the information provided in the email, and the noted user rights will be assigned. Address information will automatically populate with the school's address in the Location tab of the School Profile.
To verify the user's account information, select the Edit button to the far right of the user's name:

Deny an Account Request
To deny an account request:
- Select the Deny checkmark.
A message will appear noting that the account request is denied.

Upon refreshing the page, the user account will no longer appear on the request list.