
Create Institution Landing Pages: Image Uploads
An institution can create a customized, branded Transferology® landing page to help promote the college or university to prospective students. When navigating to Transferology through the institution's referral link or badge, students will see the customized page (assuming it is published) instead of the CollegeSource-branded homepage. This article within Create Institution Landing Pages: An Overview Guide (see Related Articles) explains how users can customize images used on the institution landing page.
In this article:
Logo Image

To upload an image:
- Where it says Logo Image, select Upload Your Own.

- Select Choose File to upload the image.

- The image will appear under Original.
- Use the cropping tools to adjust the width or length of the frame.
- Use the mouse to move the positioning of the image within the frame.
- Use the - and + buttons to scale the image within the frame.

- When done, select Crop to preview the image under Final.

- Select Upload.
- Confirm the image appears in the editor as shown below.

To use a different logo image, select Choose New Image and repeat the steps above.
Alternate Text
Transferology supplies alternate text (or "alt text") for the logo image to help assistive technology users understand the image's content and for use in search engine optimization. The default alternate text for the logo image is [Institution Name] logo picture.
To use different alternate text, enter the description into the box below.
- This will override the default alternate text above.

Header Image
Institutions are required to either upload or use a preselected header image. For best results, use an image of 1200x1100 pixels. The image must be a JPG, JPEG, or PNG file no more than 1MB in size.


Upload Your Own
- Where it says Header Image, select Upload Your Own.
- Select Choose File to upload the image.
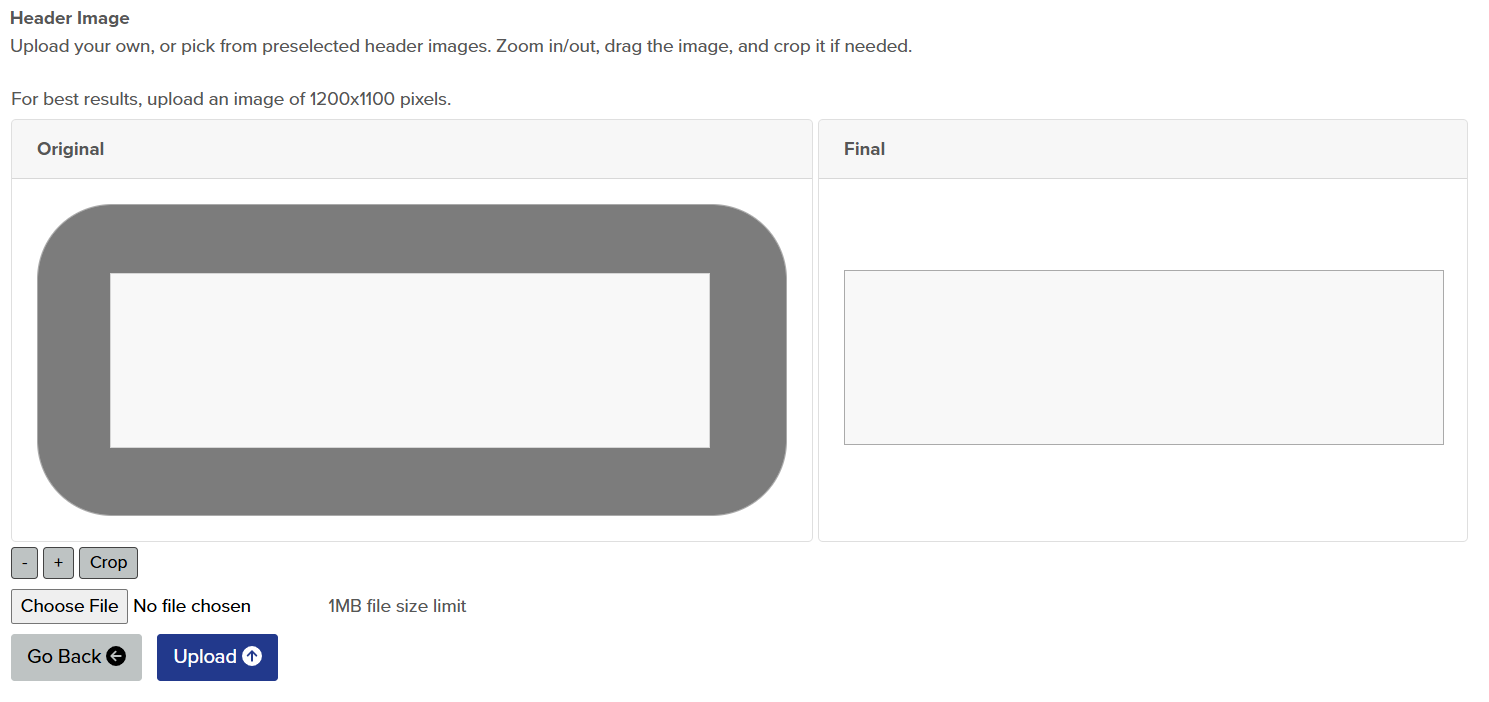
- The image will appear under Original.
- Use the cropping tools to adjust the width or length of the frame.
- Use the mouse to move the positioning of the image within the frame.
- Use the - and + buttons to scale the image within the frame.

- When done, select Crop to preview the image under Final.

- Select Upload.
- Confirm the image appears in the editor as below.

To use a different header image, select Choose New Image and:
- Repeat the steps above if uploading an image.
- See the steps below for picking from preselected images.
Alternate Text
Transferology supplies alternate text (or "alt text") for the header image to help assistive technology users understand the image's content and for use in search engine optimization. The default alternate text for the logo image is [Institution Name] header picture.
To use different alternate text, enter the description into the box below.
- This will override the alternate text above.

- Select the Preview Changes button at the top of the template to see how the image will appear on the landing page.
- Select Save Changes.
- A pop-up will appear noting that the user is about to make changes to the landing page for the institution. Doing so will make these changes visible to the public if the landing page has been published. Make sure to review changes via the Preview Changes button.
- Select Yes to proceed with saving changes.
- A confirmation will appear indicating that changes have been saved.
Pick From Our Preselected Images
- Select Pick From Our Preselected Images.
- Scroll through the images in the gallery.

- Press Select to choose the image.
- Under Final, select Upload.
- Users can also choose Select Image to return to the image gallery to select a different image.

- Confirm the image appears in the editor as below.

To use a different preselected image, select Choose New Image and repeat the steps above.
Alternate Text
Transferology supplies alternate text (or "alt text") for the default header image to help assistive technology users understand the image's content and for use in search engine optimization. The default alternate text for the logo image is [Institution Name] header picture.
To use different alternate text, enter the description into the box below.
- This will override the alternate text above.
- Select the Preview Changes button at the top of the template to see how the image will appear on the landing page.
- Select Save Changes.
- A pop-up will appear noting that the user is about to make changes to the landing page for the institution. Doing so will make these changes visible to the public if the landing page has been published. Make sure to review changes via the Preview Changes button.
- Select Yes to proceed with saving changes.
- A confirmation will appear indicating that changes have been saved.
Thumbnail Image
A thumbnail image is a small, square-sized picture that appears within a URL when copied and pasted. The below thumbnail image is used for Transferology.com and is prepopulated for each institution landing page by default:

The title Transferology for (Institution Name) will appear to the right of the image, along with the SEO Page Description.

Institutions can choose to upload a different image. For best results, use a 48x48-pixel image. The image must be a JPG, JPEG, or PNG file no more than 1MB in size.
- Where it says Thumbnail, select Upload Your Own.

- Select Choose File to upload the image.

- The image will appear under Original.
- Use the cropping tools to adjust the width or length of the frame.
- Use the mouse to move the positioning of the image within the frame.
- Use the - and + buttons to scale the image within the frame.

- When done, select Crop to preview the image under Final.

- Select Upload.
- Confirm the image appears in the editor as below.

To use a different thumbnail image, select Choose New Image and repeat the steps above.
Alternate Text
Image alternate text (or "alt text") helps assistive technology users understand the image's content and is used for search engine optimization.

Transferology does not currently use the Thumbnail Image Alternate Text field. Institutions do not need to populate any text in this field.
- Select Save Changes.
- A pop-up will appear noting that the user is about to make changes to the landing page for the institution. Doing so will make these changes visible to the public if the landing page has been published. Make sure to review changes via the Preview Changes button.
- Select Yes to proceed with saving changes.
- A confirmation will appear indicating that changes have been saved.