
Pathway Management: Add a Transfer Pathway
Pathway Management is an area within the Transferology® Lab where schools can manage the display of transfer agreements ("Transfer Pathways") with partner institutions. The School Administrator or Transfer Pathway Administrator role is required to access this page within the Lab. This article provides an overview of how to add a Transfer Pathway within the Lab.
In this article:
To navigate to Pathway Management:
- Go to School Profile.
- Select Pathway Management.
If an institution has previously established Pathways with other schools, the names of the Partner Schools will appear (alphabetically) below, alongside the number of Pathways (Total Pathways) to and from each.

Add a Partner School
Go directly to Add a Pathway to add a Pathway to an existing partner school.
To begin adding a Pathway to or from a new partner school:
- Select the Add a Partner School button.
- Within the Add a Partner School pop-up, enter the School Name.
- School names will appear in the same-named field as characters are entered.
- Select the name from the list presented.

- Select Add School.
A message will appear noting that a partnership was created. The name of the Partner School will appear in the table:

Add a Pathway
To add a Transfer Pathway to or from a partner school:
- Select the Total Pathways hyperlink to the right of the institution name.

- The following Warning message will appear:
"I affirm that this pathway is accurate for use in student planning and that any degrees, certifications, or other statements made about the partner institution named within the pathway are correct and (ideally) have been reviewed and approved by that institution."
- Mark the I agree checkbox and select Agree.
CollegeSource does not perform any type of validation on Transfer Pathways to ensure the accuracy of the content.
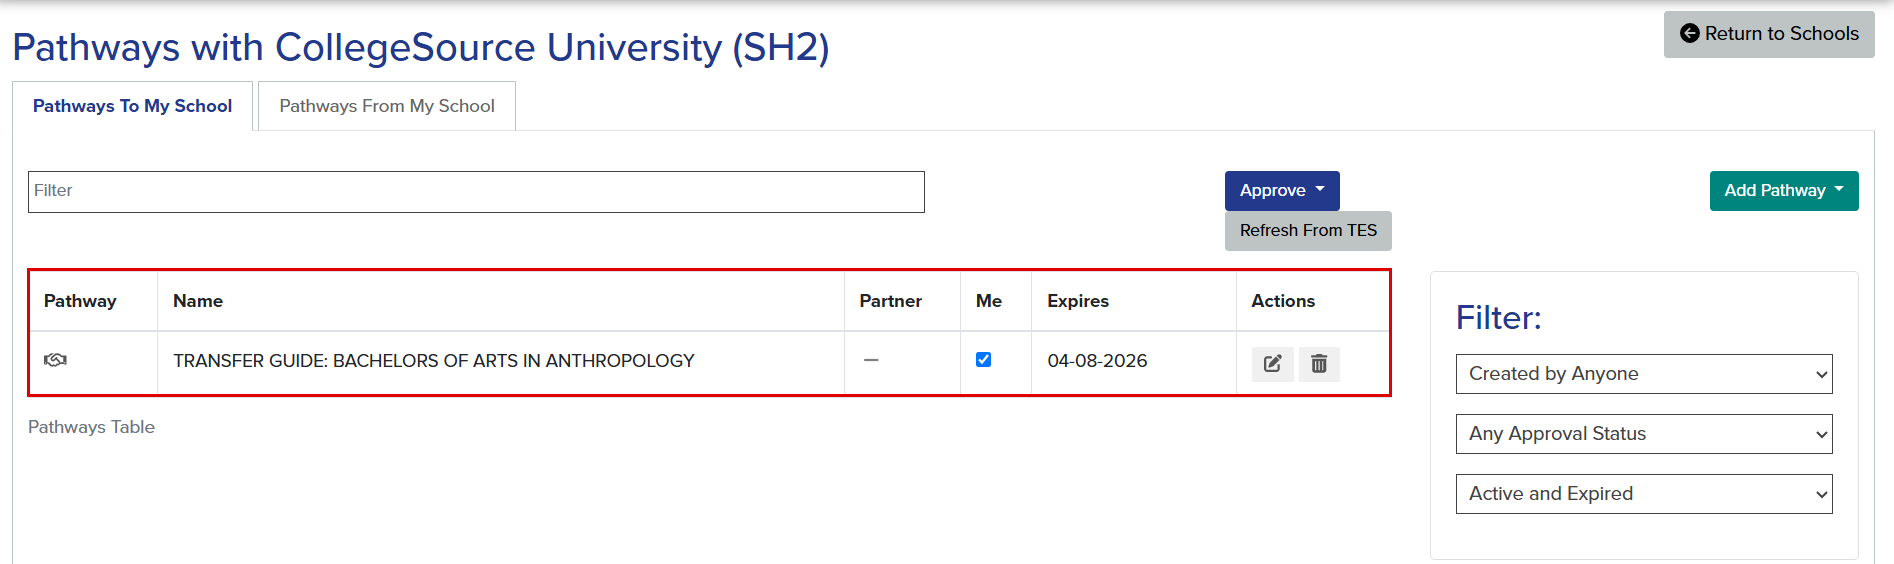
Two tabs will appear:
- The Pathways To My School tab is selected by default. This tab lists all Pathways to the user's institution from the partner school.
- The Pathways From My School tab will list all Pathways from the user's institution to the partner school.

The Refresh from TES button will only appear on the Pathways To My School tab.
Any already-added Pathways will be listed. Pathways can be added in one of two ways:
- Manually.
- From Group Reports in TES®.
If the user's institution has an active TES® subscription, Group Reports will auto-populate within the table each day. See Add a Group Report from TES below for further instructions.
- Select the appropriate tab to add the Pathway to.
Add a Pathway (External Link)
Institutions may choose to link out to Transfer Pathways on a school's website. To do so:
- Select Add Pathway.
- Within the button, select External Link.

- Within the pop-up:
- Enter the Name of the Pathway.
- This field is case-sensitive.
- Enter the URL.
- Approved for display to students? is selected by default. Use the checkbox to select whether to approve the Pathway for display to students and staff in the Transferology applications.
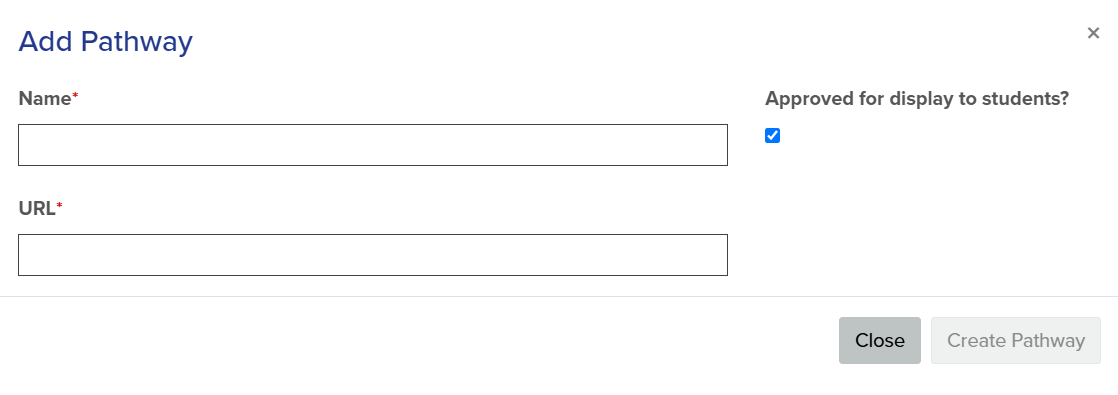
- Select Create Pathway.
The Pathway will appear in the grid below. The expiry date will be set one year from its creation.
The partner school (if a Transferology subscriber) will be notified within 24 hours of a new Pathway's addition.
Add a Pathway (File Upload)
Institutions may choose to upload a PDF of a Transfer Pathway. To do so:
- Select Add Pathway.
- Within the button, select File Upload.
- Within the pop-up:
- Enter the Name of the Pathway.
- This field is case-sensitive.
- Select Choose File or drag-and-drop the file to upload it.
- Files must be a .PDF with a size greater than 0 MB and less than 5.7 MB
- Approved for display to students? is selected by default. Use the checkbox to select whether to approve the Pathway for display to students and staff in the Transferology applications.

- Select Create Pathway.
The Pathway will appear in the grid below. The expiry date will be set one year from its creation.
The partner school (if a Transferology subscriber) will be notified within 24 hours of a new Pathway's addition.
Add a Group Report from TES
Within TES, Group Reports are used to create and display articulation agreements and transfer guides between two institutions. Each Group Report is comprised of Groups, which contain equivalencies and optional explanatory text to help convey transfer information to students. Group Reports dynamically update to reflect changes made to a Group's equivalencies.
If an institution subscribes to TES and Transferology, all of the school's Group Reports marked for display in the TES Public View will automatically load into the Pathways To My School tab daily. The Refresh From TES button refreshes the list of Pathways from TES on demand instead of waiting for nightly refreshes.
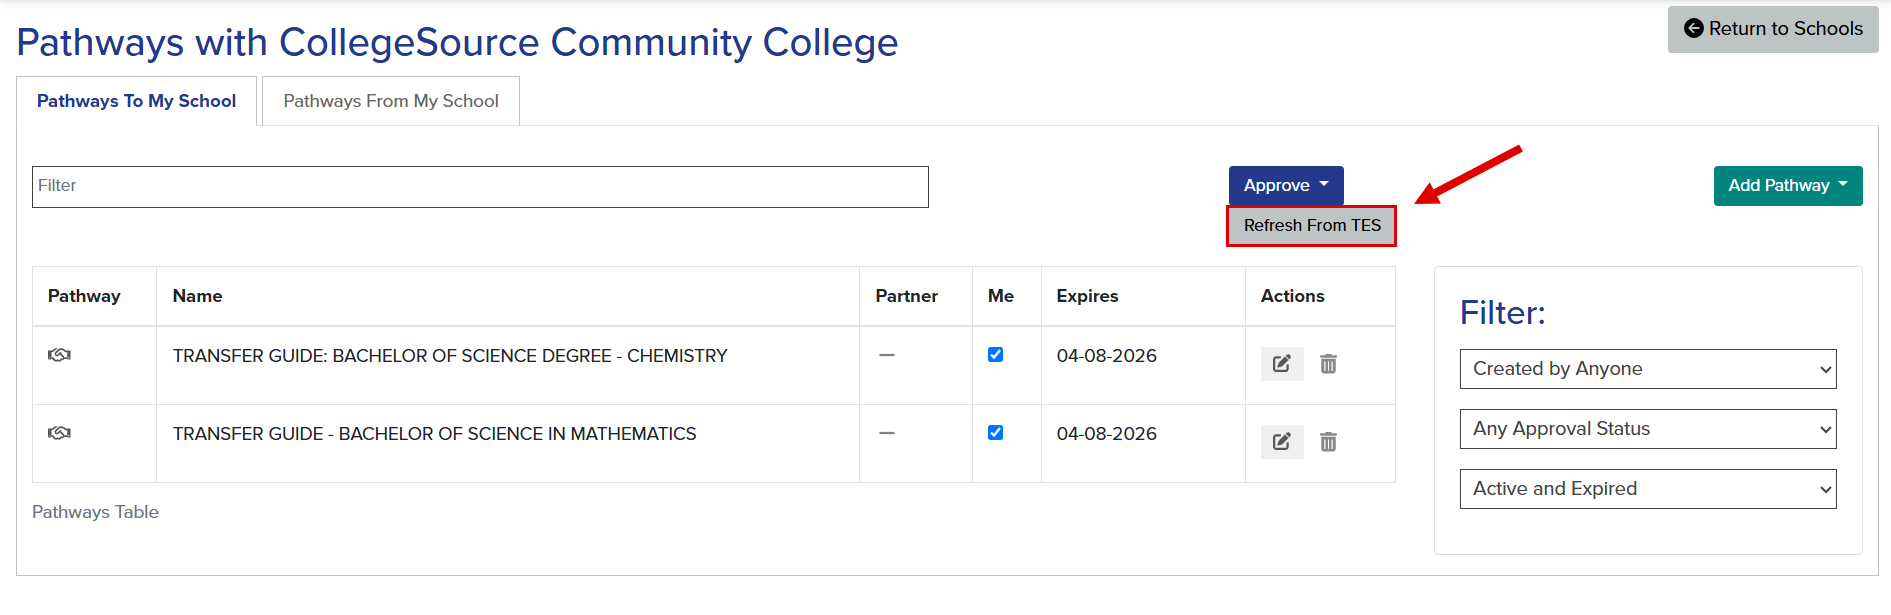
Once selected, a green bubble momentarily appears in the upper right corner to indicate that the Pathway has been successfully refreshed. The bubble details the number of Pathways created, updated, and deleted.

The expiry date will be set one year from the date the user approves the Pathway. Select the Me checkbox to display the Pathway to students and staff in the Transferology applications.
The partner school (if a Transferology subscriber) will be notified within 24 hours of a new Pathway's addition.